Rear Spring Seats Upgrade
Gary Molitor (1artworkz) can hook you up with his custom rear polyurethane spring seats. These are usually a FIX as much as they are an upgrade. These will also cost you less than the OEM counterparts, so be smart and go to these. Plus, they look cool.
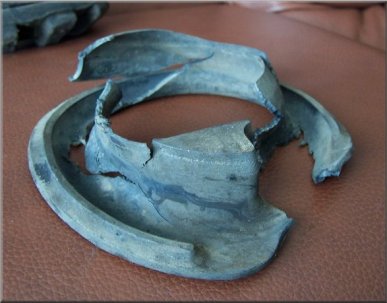
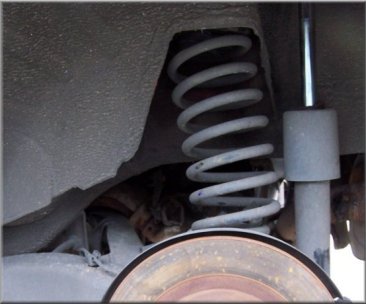
The stock parts will work fine for a while, but almost anyone who has gone to replace their springs will find this:
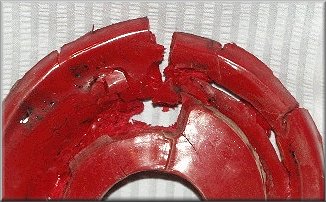
Driver Side Upper Seat (left) and Lower Seat (Right)
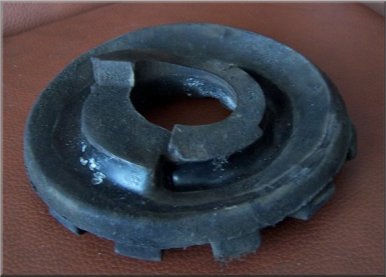
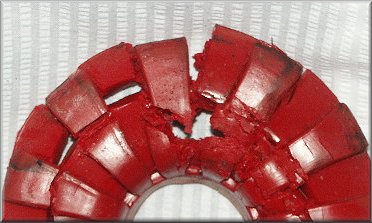
Passenger Side Upper Seat (left) and Lower Seat (Right)
Enough said? You will get squeaking, squaking, paint/metal wear, ride height change (possible camber issue) and possible spring damage if you have seats in bad condition. For some reason, the upper mount on the passenger side wasn't too bad looking, but it was still severely compressed where the spring contacts it most (rubber was very thin there).


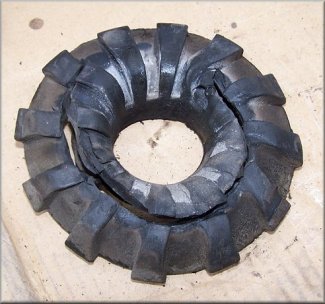
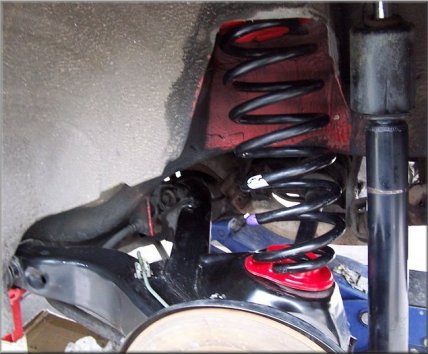
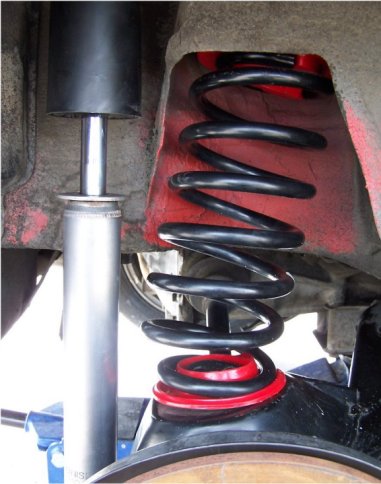
Poly Spring Mounts Installed
This is an easy replacement. Stock springs can often be pulled without spring compressors, and replacements can even sometimes be installed without them. I had to compress my replacement SS springs a little bit to get them in place.
This replacement also gives you a nice chance to clean things up a bit. Use cardboard underneath to avoid damaging or staining the road/driveway surface. Use a lot of Simple Green and Brake Cleaner with various plastic bristle brushes.
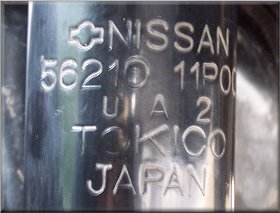
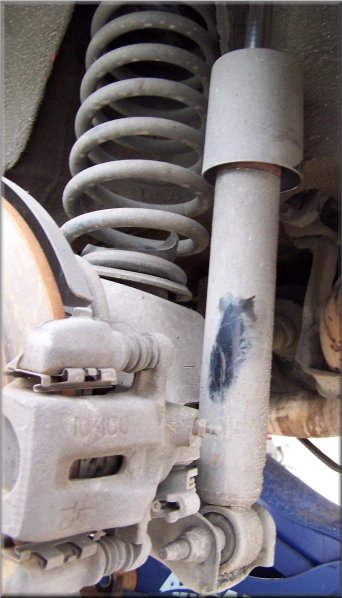
For some reason, one side of my Z has a strut with a stainless tube and the other is painted black. They are the same part # (56210 11P00 -- new part # ends with -11P26). I didn't know one was stainless until I cleaned it up : )
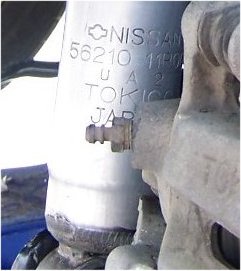
Driver side (left) was painted black // Pass side was uncoated (some sort of stainless) // Same Part #
I was also in the process of repairing the seals on my quarter panel windows when I did this, so access to the top shock nuts was very easy. The dust boots were pretty old (one torn up, one about to fall apart), so I replaced them while I had everything disassembled.
Always Take Advantage to Cleanup When you Do Work : )

Z31 Custom Spring Compression Tool (left)
Gary informed me that if you buy these, make sure they have CURED before installation (which he said takes 10 days from production) otherwise they will get crushed from the weight of the car and disentigrate. He also said they are usually shipped out cured, but I got a fresh set, so I had to wait.