Replace/Repair Headliner
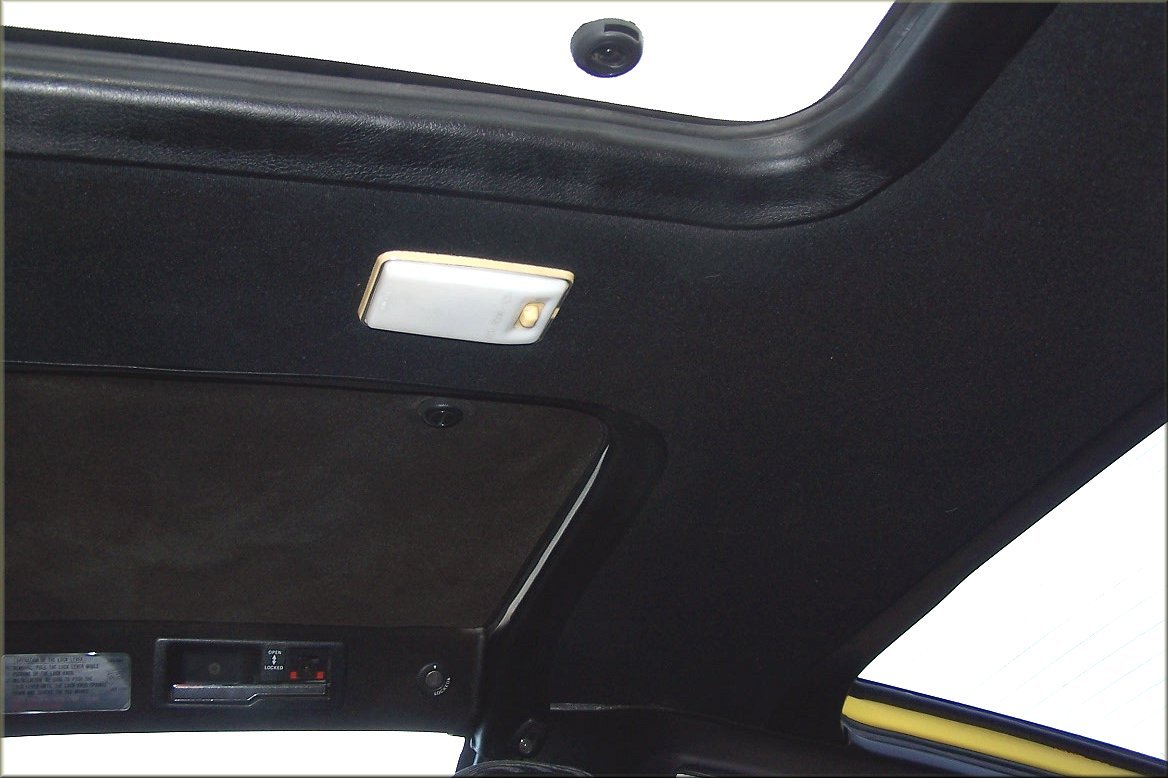
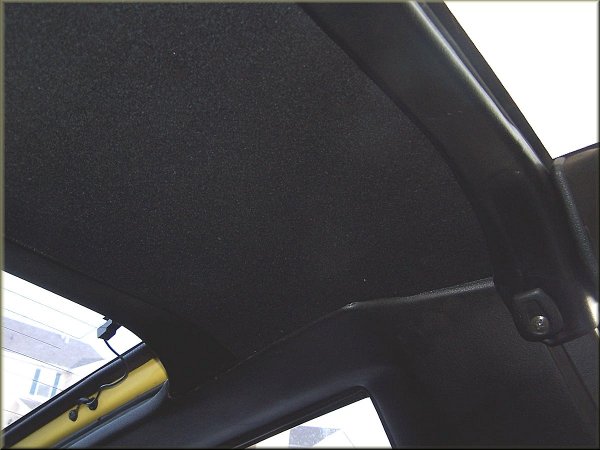
On my 86 Turbo, which already had a pretty nice interior, one typical problem existed. I didn't even notice or check the headliner while purchasing (not that it would've made a difference). I noticed it first when I was going around with protectant wipes getting all the plastic cleaned up. Well - typical sagging had occurred somewhere in it's life. Someone tried once or twice to get it stuck back up there, but when the foam backing is basically powder, it doesn't stick well.
I read the Z31 article about removing the headliner, and AZ-ZBum's writeup about replacement and I went to town. Removal of the headliner is a cinch and takes maybe 10 minutes tops. The most difficult part was removing the rear trim piece, which isn't saying much because that wasn't too tough, either.
Cost of Repair: $15 for Headliner Fabric and $15 for 3M Spray Adhesive (I've seen it cheaper online)
The surface of the original headliner was still in pretty good shape. However, certain sections had warped and the foam backing was pretty much destroyed around the back edge because of heat, age, and multiple applications of glue. Some glues will dissolve foam and most glues will not adhere an old Z headliner to the hardboard backing. The original headliner has a velvet-like surface which is bonded to what appears to be a plastic liner, all with a foam backing. Once the foam is gone, the plastic is all the glue has to stick to, and the padding is obviously gone, which would case a gap between the trim and headliner surface. So, basically, the best thing you can do it replace the headliner instead of trying to get it to stick back on...even if you did a good job, you'll likely have some warped sections and end up with a sagging headliner again in the near future.
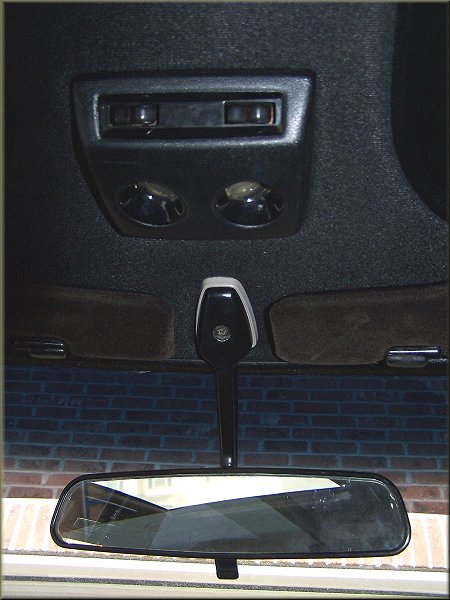
I removed the metal clips from the holes --- this was a bit of a pain. Obviously be careful not to bend the hard board because it will crack or break off. You want these metal clips put back on after you adhere the new fabric. One of them accepts the clips from the map-lights so you won't wear into the hardboard by clipping the metal clips into the hardboard opening.
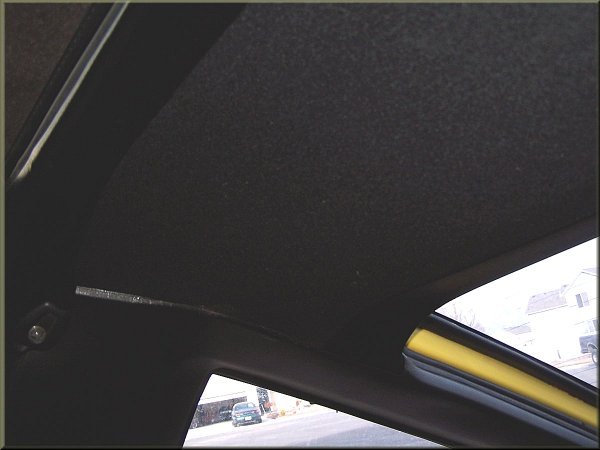
Worse than anything was the ATTEMPTS previous owners took
on rehanging the original liner. They got glue everywhere. I had to
refinish the hatch trim piece because the glue would not come off
without stripping paint. I stripped it clean and repainted it with black
trim paint from Checker. Looks great : ) Back to the main subject,
however --- many small sections of headliner did not rip off with the
rest of the headliner. It was glued on tight. There were several
sections on the board that had thick, heavy glue. I had to take a razor
blade scraper and carefully get the bulk of it off. Be careful if you
have to do this because the blade will easily start to cut into the
hardboard. It took me about 90 minutes to clean off the bulk of the
glue. Then I used an orbital sander to even things out as good as I
could without ruining the shape or thinning out the board too much. I
used some citrus cleaner on some of the sticky glue residue that was
left over. There as both sticky, wet glue residue and hard stuck on
glue.
As described in the write-ups, any normal sections with
stuck on old foam were easy to work with. Just rub it off with a medium
coarse scotch-pad. I tried to remove any "high" areas where glue was a
bit thicker. When done, the majority of the surface had a uniform rough
look (except for the part I had to sand). I took 200 grit wet sand paper
(used it dry) and just went over the entire surface lightly to clean it
off and get a good bonding pattern for the new glue.
I went to Jo-Anns Fabric and bought the black, foam-backed
headliner. Hopefully the foam used now is a bit more resilient that the
foam backing used on the original headliner. There is not a plastic
liner, at least, so if it ever sags again, reparation might be possible
(thought the gap would still be an issue with repair). Cloth may also
shrink over time (maybe not warp, but shrink).
Although both the write-ups above are great, I followed
this one a bit more closely:
HEAD LINER
REPAIR
I did not want to use staples, and I figured a
well-adhered headliner is not going to need staples to keep it up. I
found several spray adhesives at Checker, AutoZone, and HomeDepot.
However, none of them were high-heat resistant. Basically all of them
said they were for automotive fabric and carpet, but not to be used for
headliner. Even some that said they were specifically for headliner
basically said not to use them for headliner : ) One 3M can was labeled
as General Purpose Spray Adhesive. It said not to use it for headliner,
but rather to use 3M™ Super Trim Adhesive. I found this stuff at NAPA,
along with several other suitable spray adhesive products (all high heat
resistant). The can said 3M Super Trim Adhesive - 08090 Yellow. Specific
directions are included. I imagine this stuff is really good. However,
it was kind of funny that this can said not to use it on lightweight
foam/fabric...I basically ignored this recommendation because at this
point, it appeared NOTHING was recommended for foam-backed
headliner....one can tells you to use high heat resistant, and the high
heat resistant glue tells you to use general purpose. HA! I tested the
glue on a small section of headliner fabric and it appeared to hold up
just fine to a light coat.
3M™ Super Trim
Adhesive, 08090, Yellow, Net Wt 19 oz/539 g, 6 per case
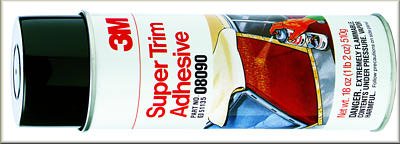
Aerosol contact adhesive
designed for bonding vinyl tops, heavyweight liners and hood
silencer pads where high strength and heat resistance are
needed.
As described in the write-ups, any normal sections with stuck on old foam were easy to work with. Just rub it off with a medium coarse scotch-pad. I tried to remove any "high" areas where glue was a bit thicker. When done, the majority of the surface had a uniform rough look (except for the part I had to sand). I took 200 grit wet sand paper (used it dry) and just went over the entire surface lightly to clean it off and get a good bonding pattern for the new glue.
I went to Jo-Anns Fabric and bought the black, foam-backed headliner. Hopefully the foam used now is a bit more resilient that the foam backing used on the original headliner. There is not a plastic liner, at least, so if it ever sags again, reparation might be possible (thought the gap would still be an issue with repair). Cloth may also shrink over time (maybe not warp, but shrink).
Although both the write-ups above are great, I followed this one a bit more closely:
I did not want to use staples, and I figured a well-adhered headliner is not going to need staples to keep it up. I found several spray adhesives at Checker, AutoZone, and HomeDepot. However, none of them were high-heat resistant. Basically all of them said they were for automotive fabric and carpet, but not to be used for headliner. Even some that said they were specifically for headliner basically said not to use them for headliner : ) One 3M can was labeled as General Purpose Spray Adhesive. It said not to use it for headliner, but rather to use 3M™ Super Trim Adhesive. I found this stuff at NAPA, along with several other suitable spray adhesive products (all high heat resistant). The can said 3M Super Trim Adhesive - 08090 Yellow. Specific directions are included. I imagine this stuff is really good. However, it was kind of funny that this can said not to use it on lightweight foam/fabric...I basically ignored this recommendation because at this point, it appeared NOTHING was recommended for foam-backed headliner....one can tells you to use high heat resistant, and the high heat resistant glue tells you to use general purpose. HA! I tested the glue on a small section of headliner fabric and it appeared to hold up just fine to a light coat.
| 3M™ Super Trim
Adhesive, 08090, Yellow, Net Wt 19 oz/539 g, 6 per case
|
Aerosol contact adhesive designed for bonding vinyl tops, heavyweight liners and hood silencer pads where high strength and heat resistance are needed. |
Outstanding features:1.) High immediate bond strength2.) Re-positionable during assembly3.) Excellent heat and water resistance4.) Plasticizer resistant5.) Long-bonding range (5 minute to 1 hour)6.) Lace-like, non-misting spray7.) No need to purge after use. Note: Not recommended for polyethylene, polypropylene or foamed polystyrene.
I laid the hardboard across the fabric and cut the fabric about 1 1/2" wider on each edge. The reason I cut out the fabric before hand was because I wanted to save the large sections that would be left over without getting glue on it and because I thought it would make it easier to line up, glue, handle, and pull apart from the cardboard --- I think all of these turned out to be right. Then I layed a large flat section of cardboard on the ground (outside, warm day), laid down the hard board, and then the cut fabric. I folded over half of the fabric, laid cardboard between it and the other half of fabric (to avoid getting glue sprayed on the surface of the other side). I put down a light, even coat of glue on the foam side. Then I sprayed a heavier coat on the hard board.
The glue sprays out in a criss-cross pattern and gets a bit stringy, so be careful to do this when there is no wind, and make sure you don't get any glue on the your nice new fabric surface (either from your hands or accidentally from overspray).
I let the wet glue sit for just a bit, until it got a bit tacky (only a few minutes). Then, with a helper, I pulled the fabric down slowly and put light, even pressure from the center outward, slowly laying down more until I reached the cross section of the hard board panel, and then likewise with the close from the center to each end. DO NOT PULL THE FABRIC so as to stretch it out --- just lay it lightly and evenly. The stuff is VERY forgiving -- you aren't likely to crease this stuff -- it was a piece of cake to get it to set down well. Make sure you apply enough pressure to get it well adhered, but NOT SO MUCH that you soak up glue into the foam. This can cause several problems --- hard spots, permanent compression (if the glue dries when the foam is compressed), and staining of the fabric. The glue WILL BLEED through if you are not careful. This is why some prefer to use a velvet upholstery (as well as to get the factory, fuzzy look).
Now that half was done, I let it sit for 30 minutes and waited to do the next side. Copy the same procedure for the next side. Let it dry for several hours, if not a day, in 75 degree heat (inside or warm day).
As I mentioned before, I left generous excess around the edges. Part of the reason I left excess was so I could decide whether to fold it back over the board and glue the edges down. I decided to just cut the edges off because I remember that having it folded over on my '84 headliner (was redone "professionally") cause a bit of a problem with setting it back into the front/windshield trim. It becomes thick and a bit tough to deal with. If you staple it down, that would probably help since it would be compressed, but still, it's going to be thicker. Also, the writeup I followed mentioned that if there is trim used around the edges, you don't need to fold it over (sounds like folding it over is for aesthetics). I really think the 3M heat resistant glue is strong enough to hold up this rather light material and I don't think it will be a problem for a VERY, VERY long time.
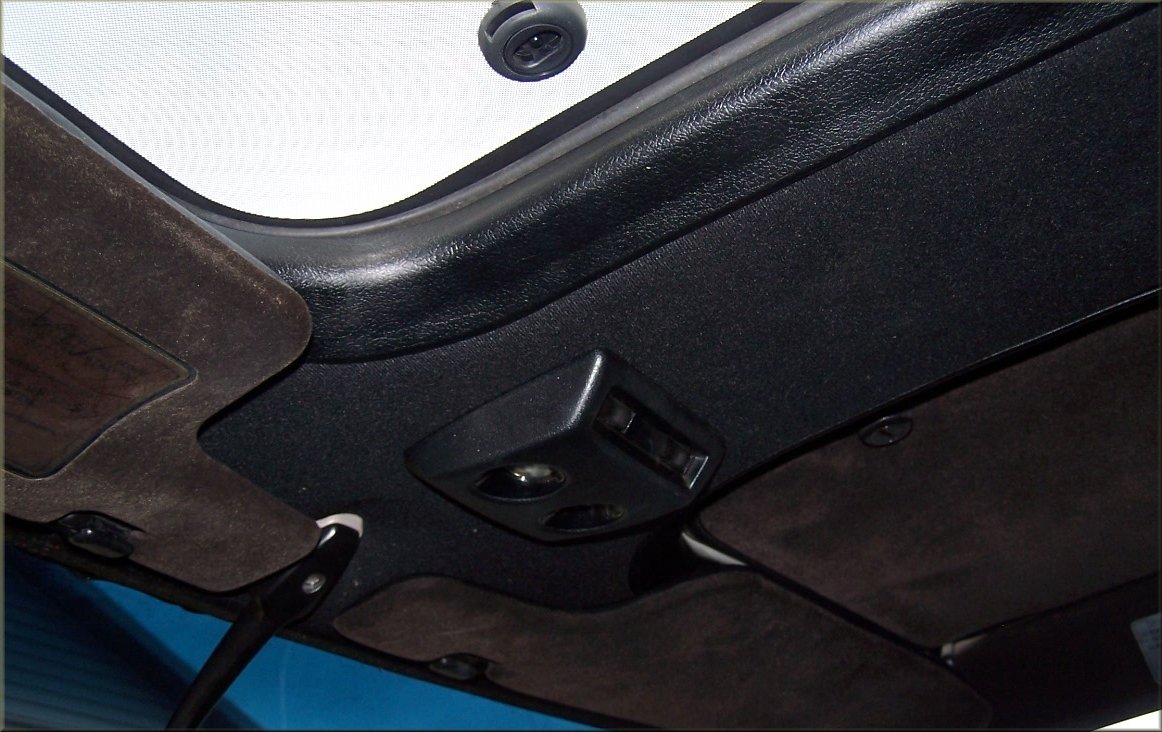
So, I gave the edge about 1/4" just for possible shrinking/pulling/tugging. Then I re-installed the metal clips (big pain in the butt, again, be careful not to use too much force). The I stuck the headliner back in the car. I had a bit of trouble lining it all up. Set it back into the rear, side trim pieces. Then carefully work the front end into the windshield trim. Then focus on getting the dome light screw back in it's place. If you can get this screw in, the whole headliner will be set up nicely for the other screws.
Once I had the four other headliner screws in place, I worked on some of the accessory items (rear-view, dome light, map lights, and rear trim. I used a small screwdriver to find where the screw holes were for things. I waited to attach the visors themselves until I had the T-Top trim back in place with the front screws set into the A-Pillars. Then I snapped on the A-Pillar trim and did the visors. Then I attached the hooks.
It felt good to get this done. It looks very nice, and total cost (minus opp. cost of my time : ) was $15 for the fabric and $15 for the glue can. Yep, the glue is a bit pricey.
CLICK ON IMAGES BELOW FOR LARGER FORMAT