MENU
In case you want to know
how I'm doing,
Deer Valley, Arizona
Z31 Dash Removal
Removing the dashboard is a prerequisite for a few of more difficult interior tasks:
Tools Required:
- regular 10mm socket for 1/4" driver
- 1/4" socket driver
- 3" long 1/4" driver extension
- #2 Phillips screwdriver
- #3 Phillips screwdriver
- 2 Small flathead screwdrivers
- Steering wheel puller (optional*)
Time Required:
- 1 Hour
Steps:
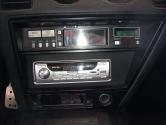
- Remove stereo and climate control assembly.
- Remove Ashtray.

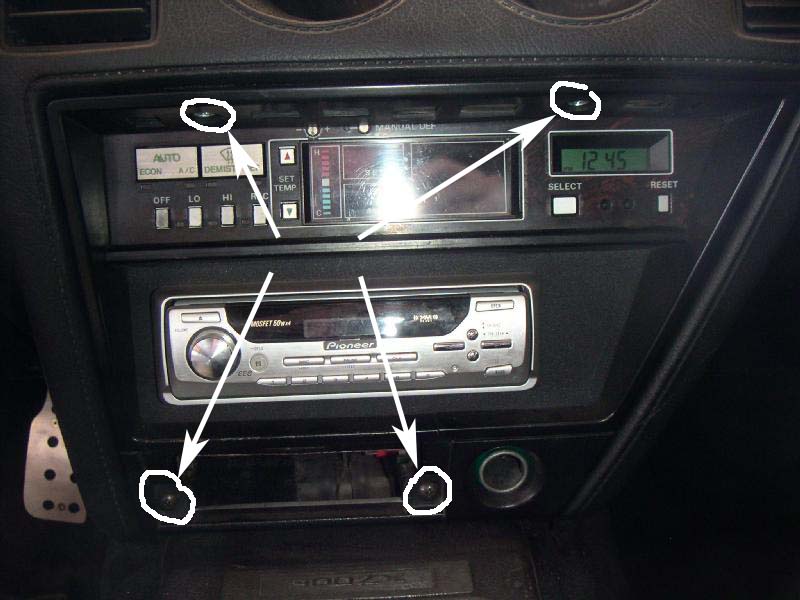
- Remove 4 stereo/climate control trim screws.
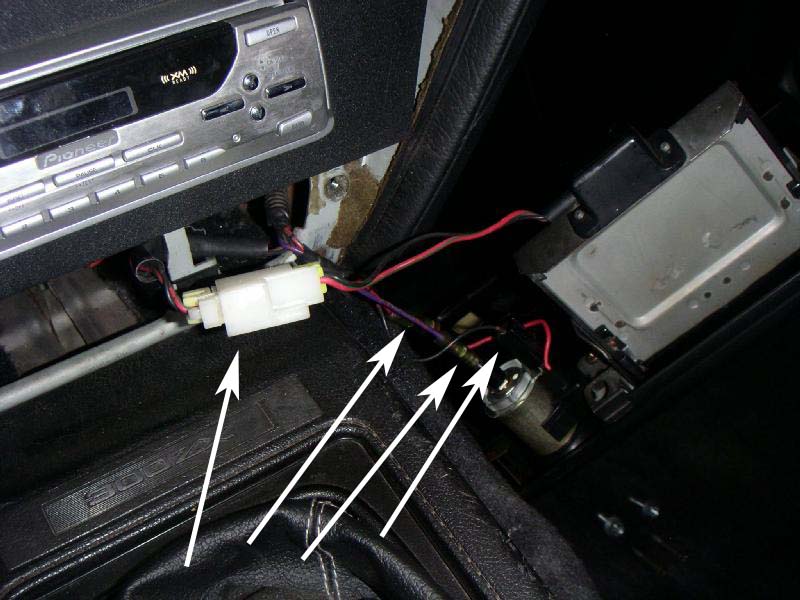
- Pull trim out, disconnect cigarette lighter and ash tray lights, and remove trim.
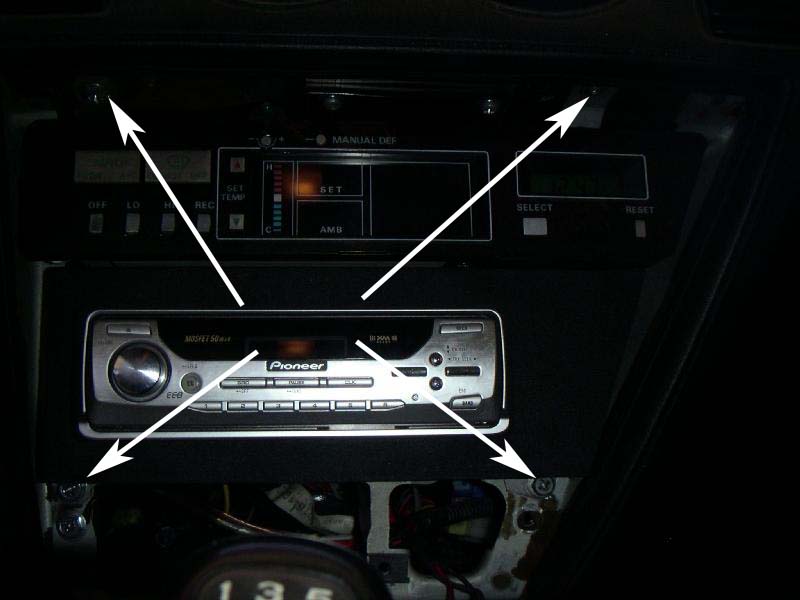
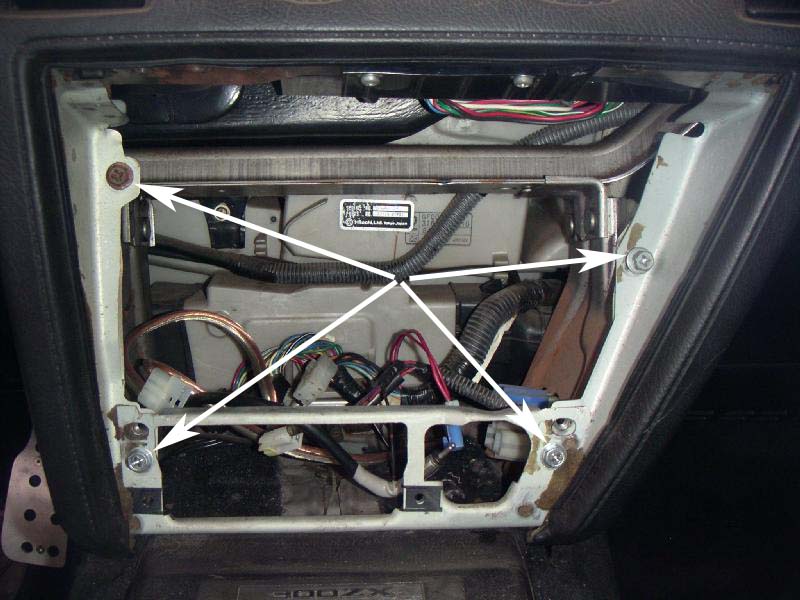
- Remove 4 stereo/climate control mounting screws.

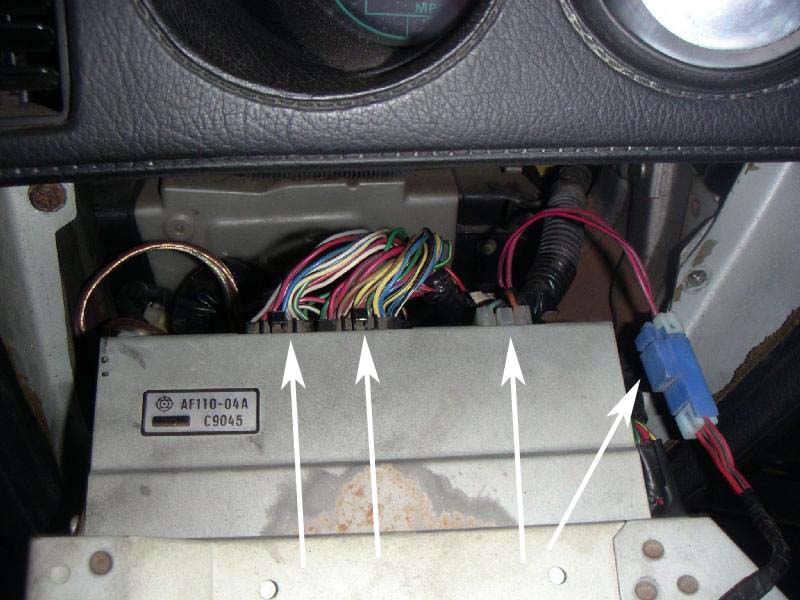
- Pull stereo and climate control assembly out, disconnect connectors, and remove assembly.
- Remove 4 screws holding dash to mounting plates.
- Remove Ashtray.
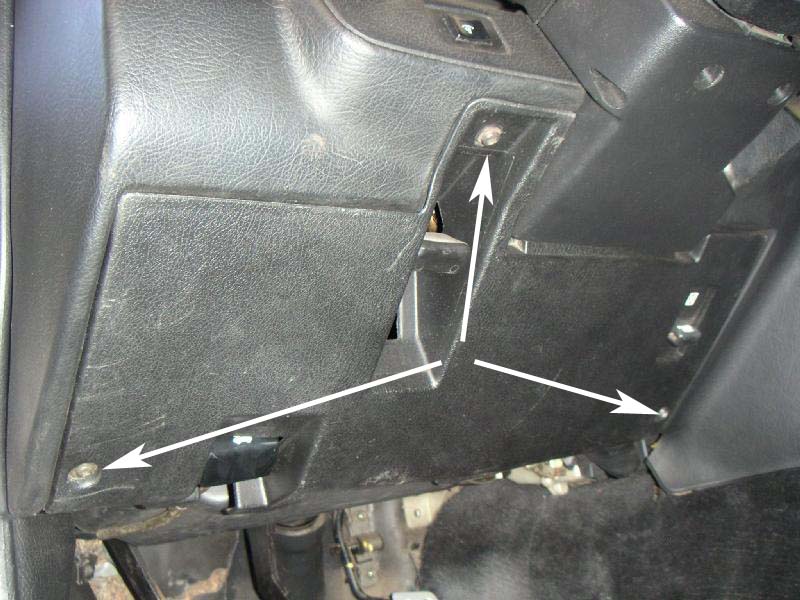
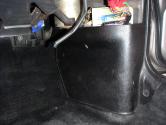
- Remove driver's side lower dash cover.
- Remove 3 screws.
- Pull trim piece down and disconnect foot light.
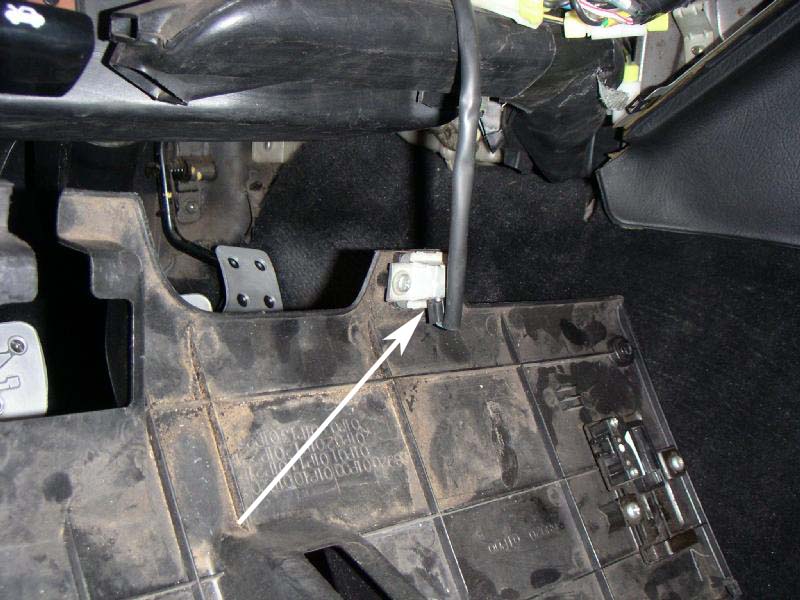
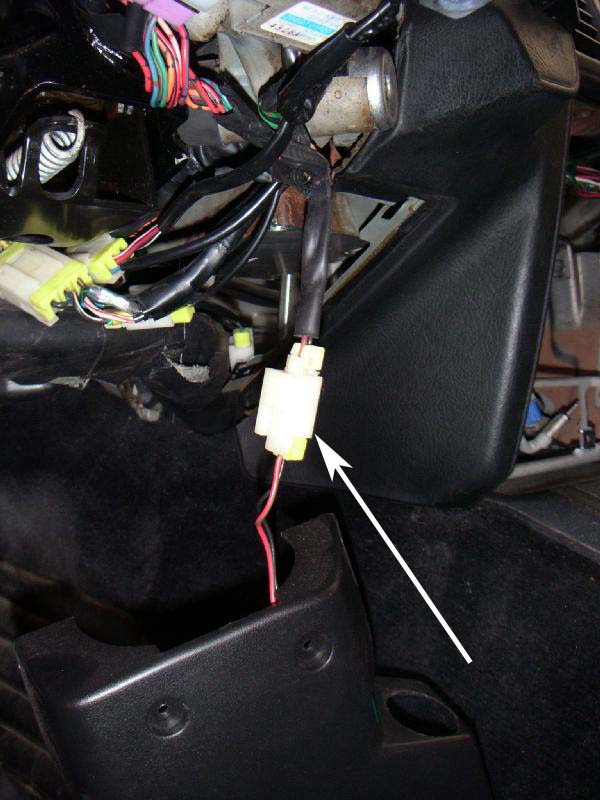
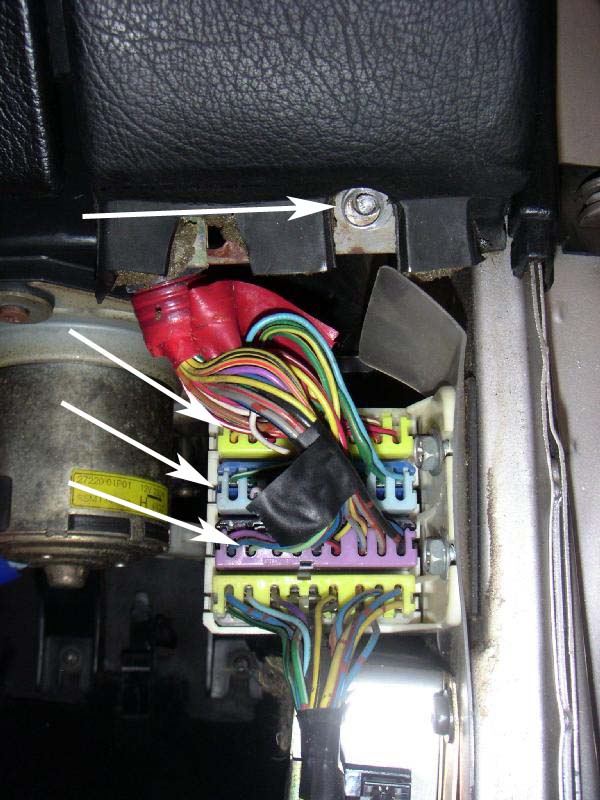
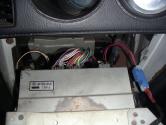
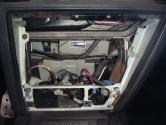
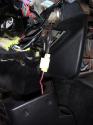
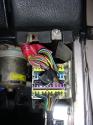
- Unplug driver's side dash harness and remove driver's side lower dash retaining screw.
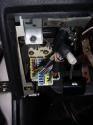
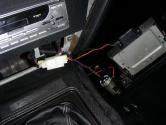
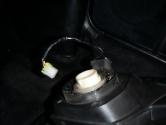
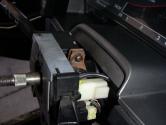
- Remove nut and bolt holding power supply, unplug and remove power supply.

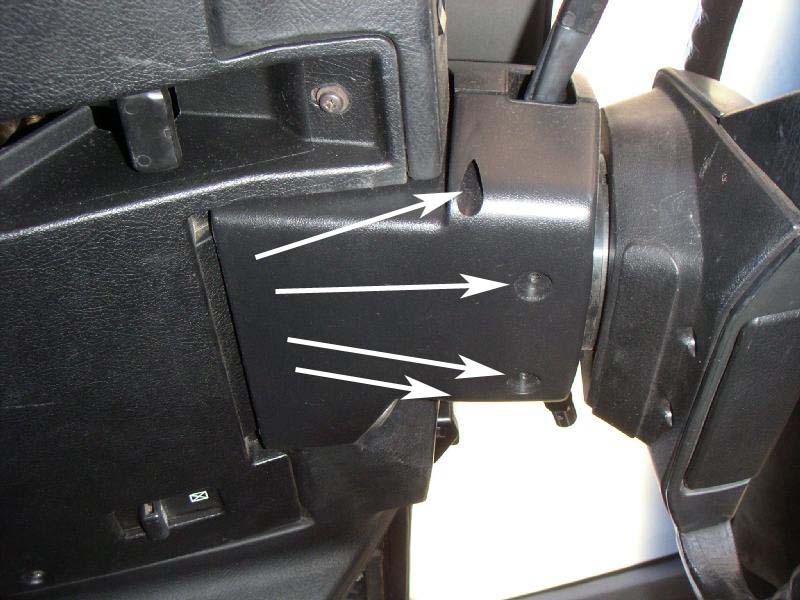
- Remove 3 screws.
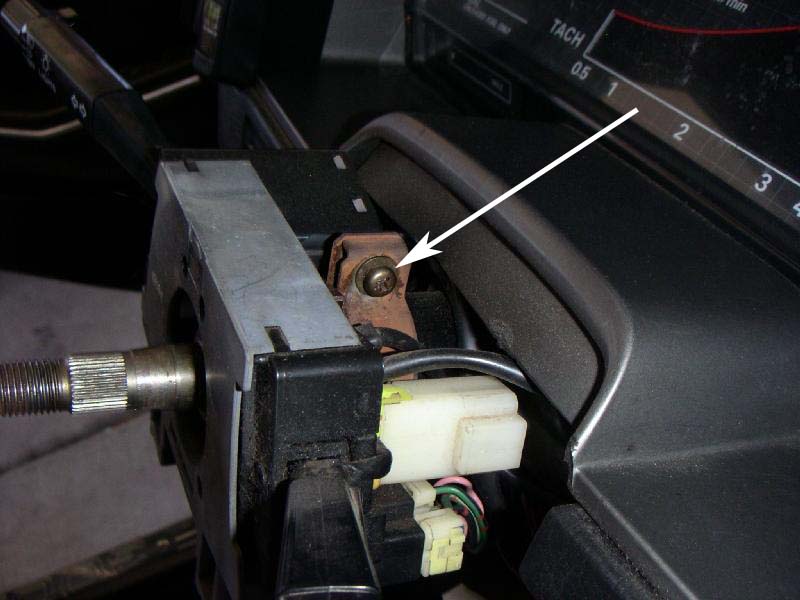
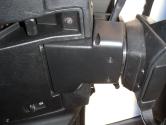
- Remove the steering wheel and column switches.
- Remove the steering wheel column covers.
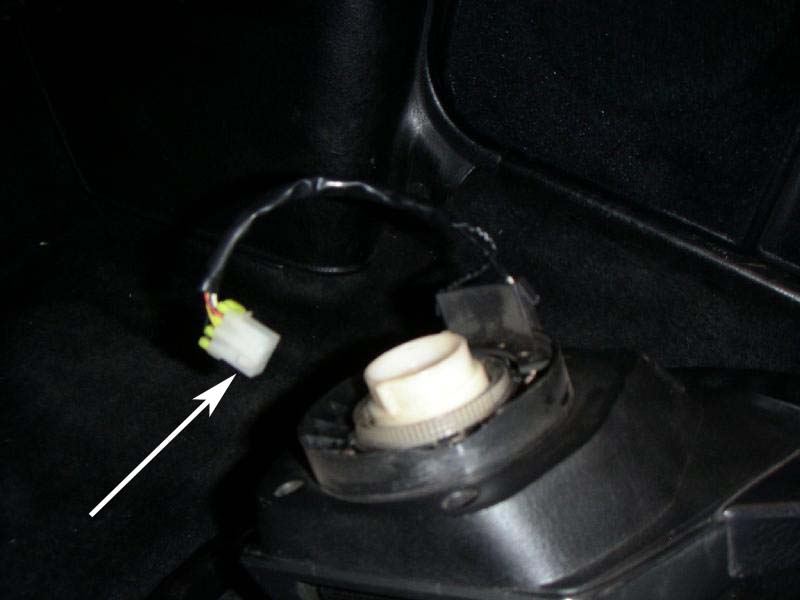
- Disconnect key hold light connector.
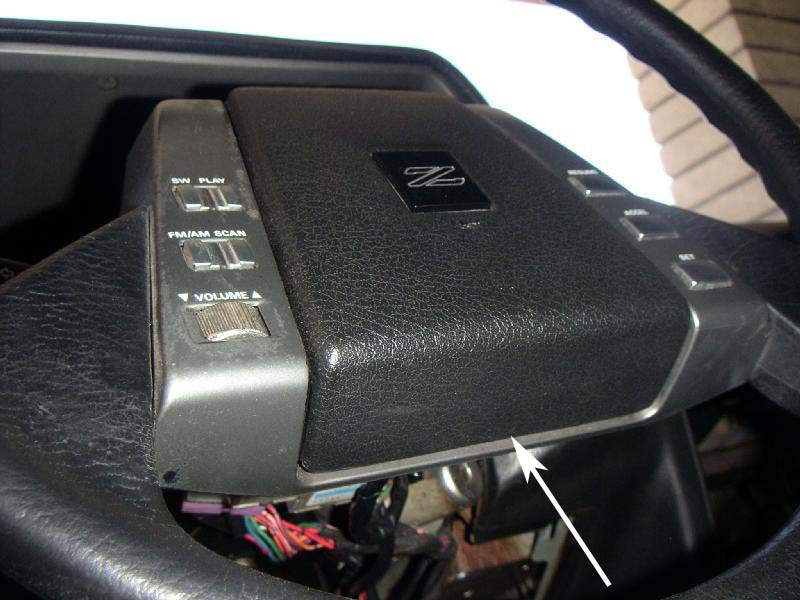
- Pry the horn cover off the steering wheel with your hands.

- Remove the nut holding the steering wheel to the steering column.
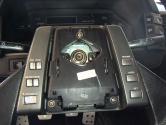
- Using a steering wheel puller, pry the steering wheel off the column. Disconnect harness from back of cluster combo switches.
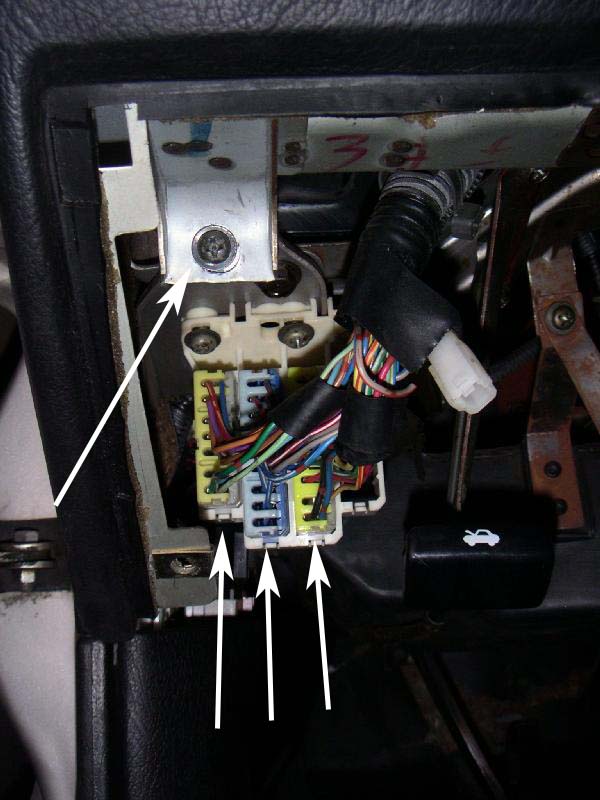
- Locate single phillips screw holding column switches in place and loosen until almost out.
- Disconnect the connectors and remove switches.
- Remove the steering wheel column covers.
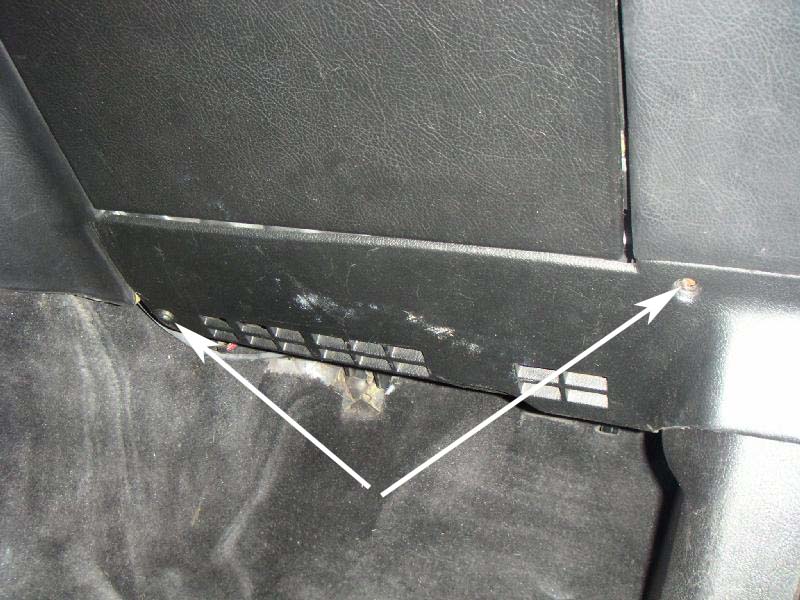
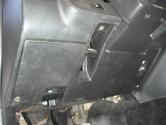
- Remove passenger side lower dash cover.
- Remove 2 screws.
- Pull trim piece down and disconnect foot light.
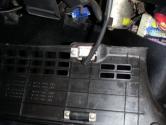
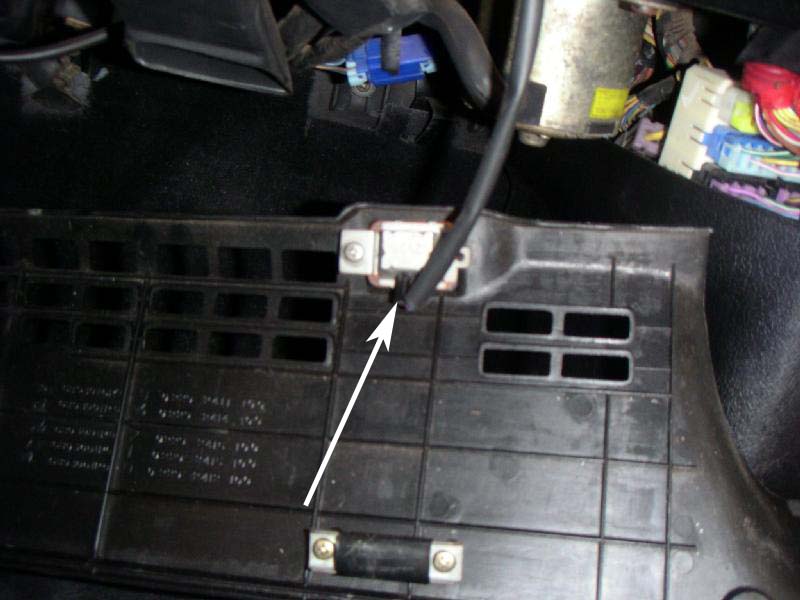
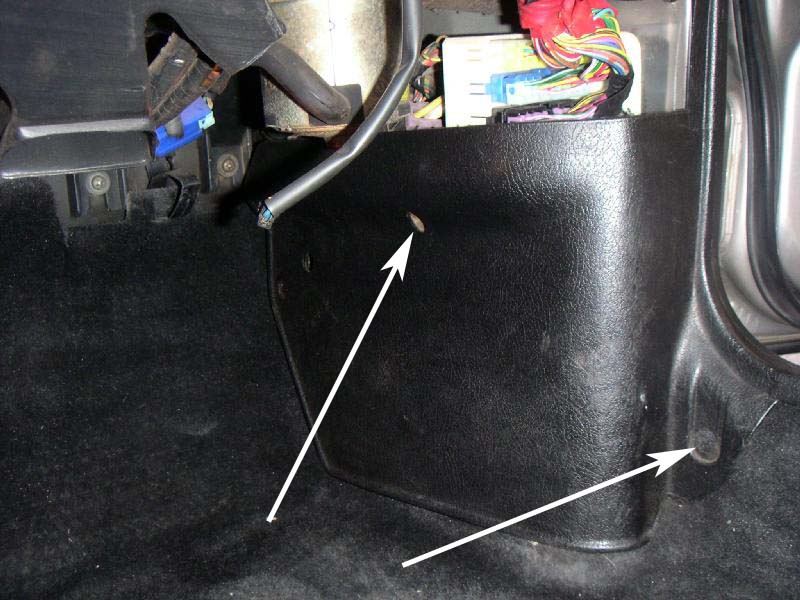
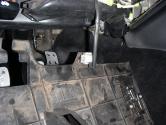
- Remove plastic clip and screw to remove passenger kick panel to gain easier access to dash harness connectors.
- Diconnect passenger side dash harness connectors.
- Remove 2 screws.
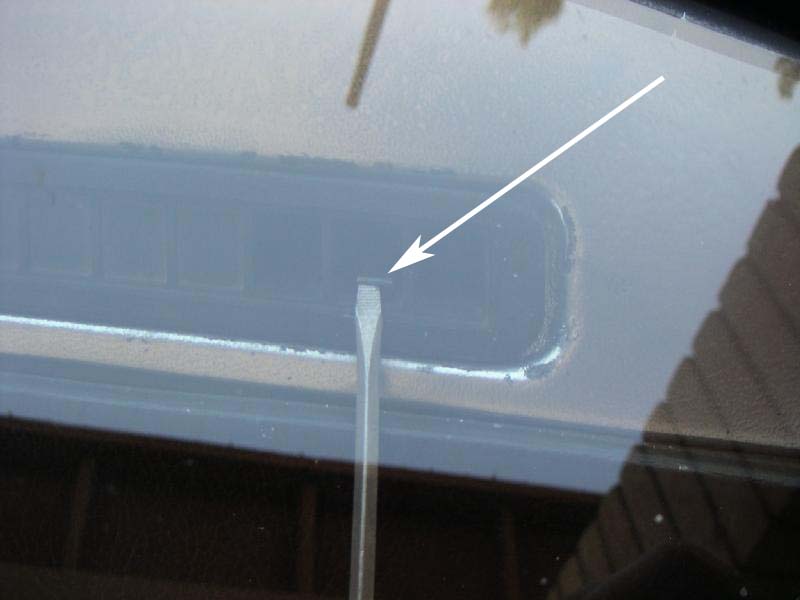
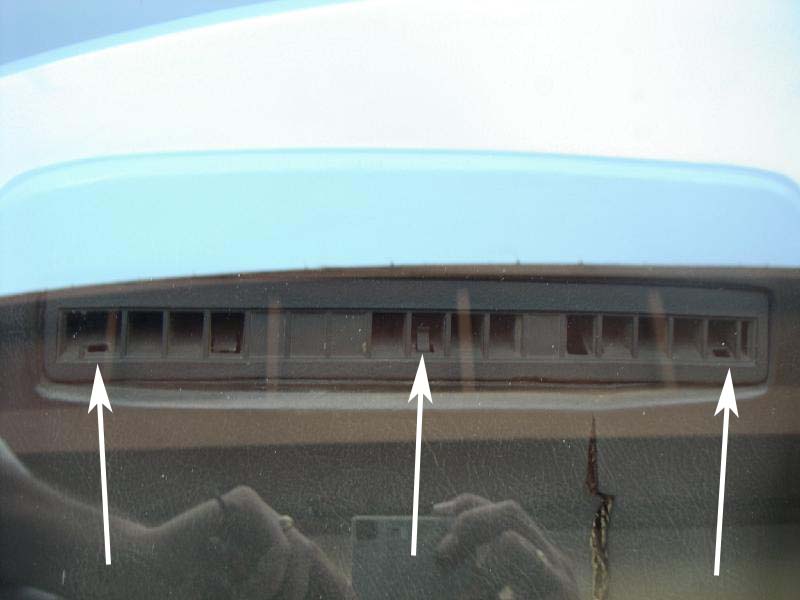
- Remove upper dash windshield vents.
- Starting from one side, use a second small screwdriver to push the metal tabs in the vents forward. Use a screwdriver to pry the vent up slightly.
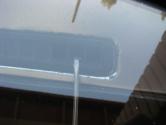
- Repeat all the way to the other end using the bigger screwdriver to keep the vent from popping back into place.
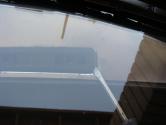
- Repeat process for the driver's side windshield vent.
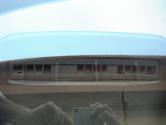
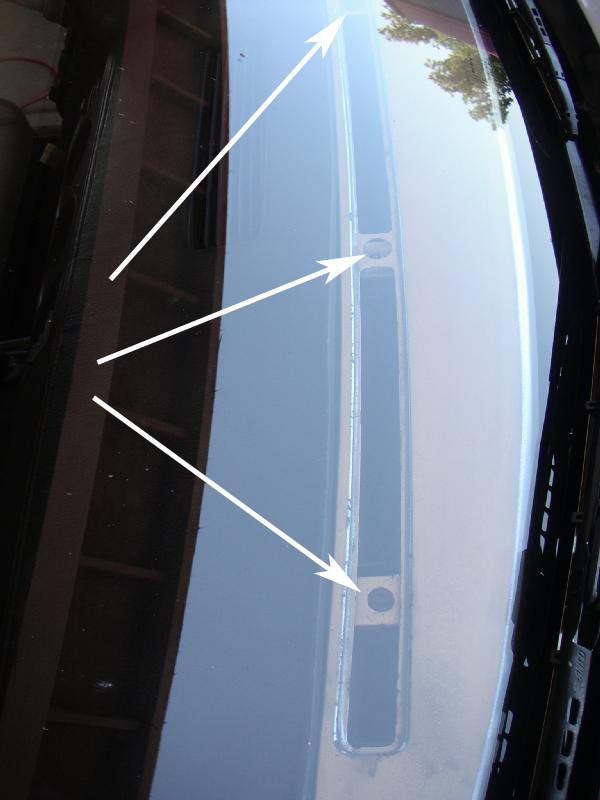
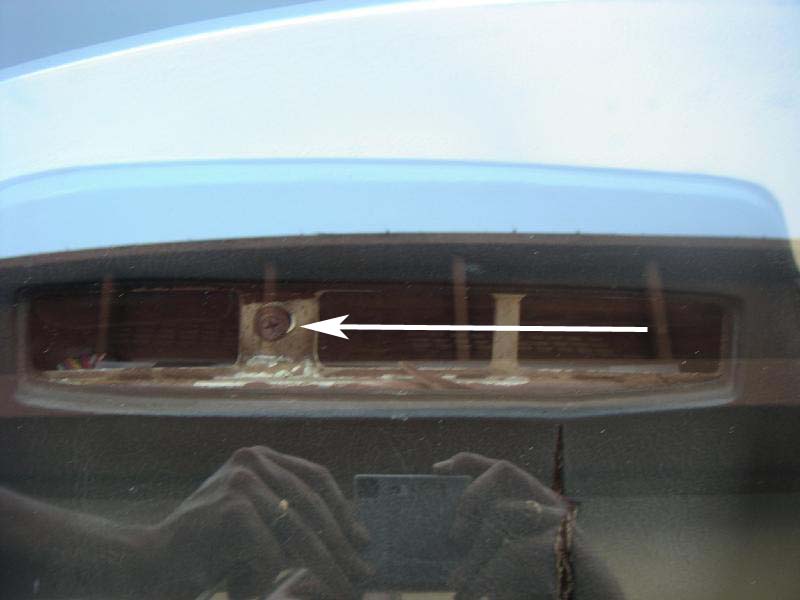
- Using a 1/4" socket wrench with a regular 10mm socket remove the four screws across the top of the dash.
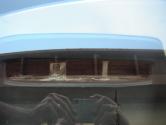
- Starting from one side, use a second small screwdriver to push the metal tabs in the vents forward. Use a screwdriver to pry the vent up slightly.
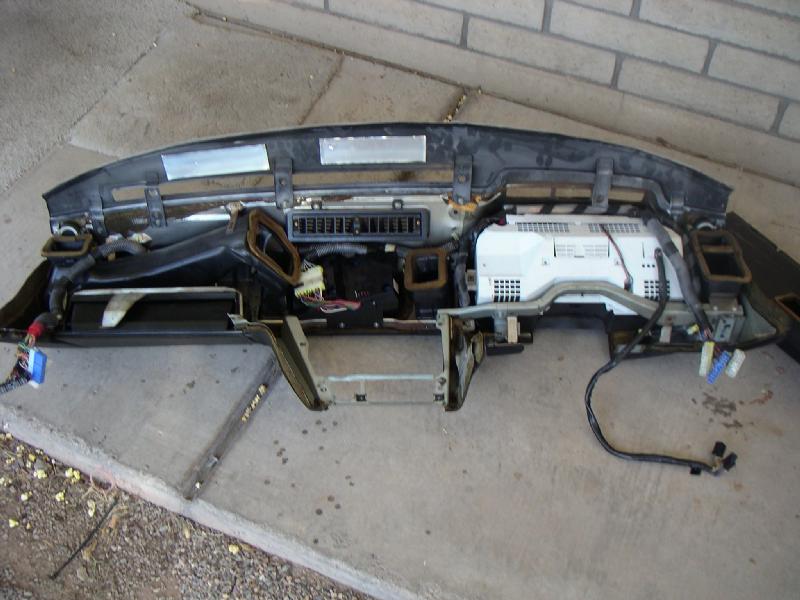
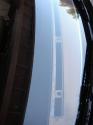
- Carefully pull dash out and away from steering column making sure you didn't miss any connectors.
WARNING: If you have an 84-86 analog dash, be sure to disconnect the speedometer cable from the back of the instrument cluster BEFORE you attempt to pull the dash out.